Okay, so this picture doesn't do justice to the fun the kids will have finger weaving, or as some call it, finger crocheting. This is great activity for hand-eye coordination for elementary school age kids. But once they get the hang of it they will have a good time making belts, hair ribbons, snakes and what ever other ideas they can come up with. You don't have to go out and buy new yarn, as I am sure many of you have left over yarn from projects, or maybe ask Grandma if she has any yarn scraps. Kids will have so much fun watching their weaving grow and grow. When they run out of one color just tie on another color. Short ropes can be made for tying hair into pony tails. Measure the waist of the child and have them make a belt for themselves or a sibling. Older kids can string numerous decorative beads onto the yarn before they start and can incorporate them throughout the weaving.
Supplies
Yarn scraps of any color
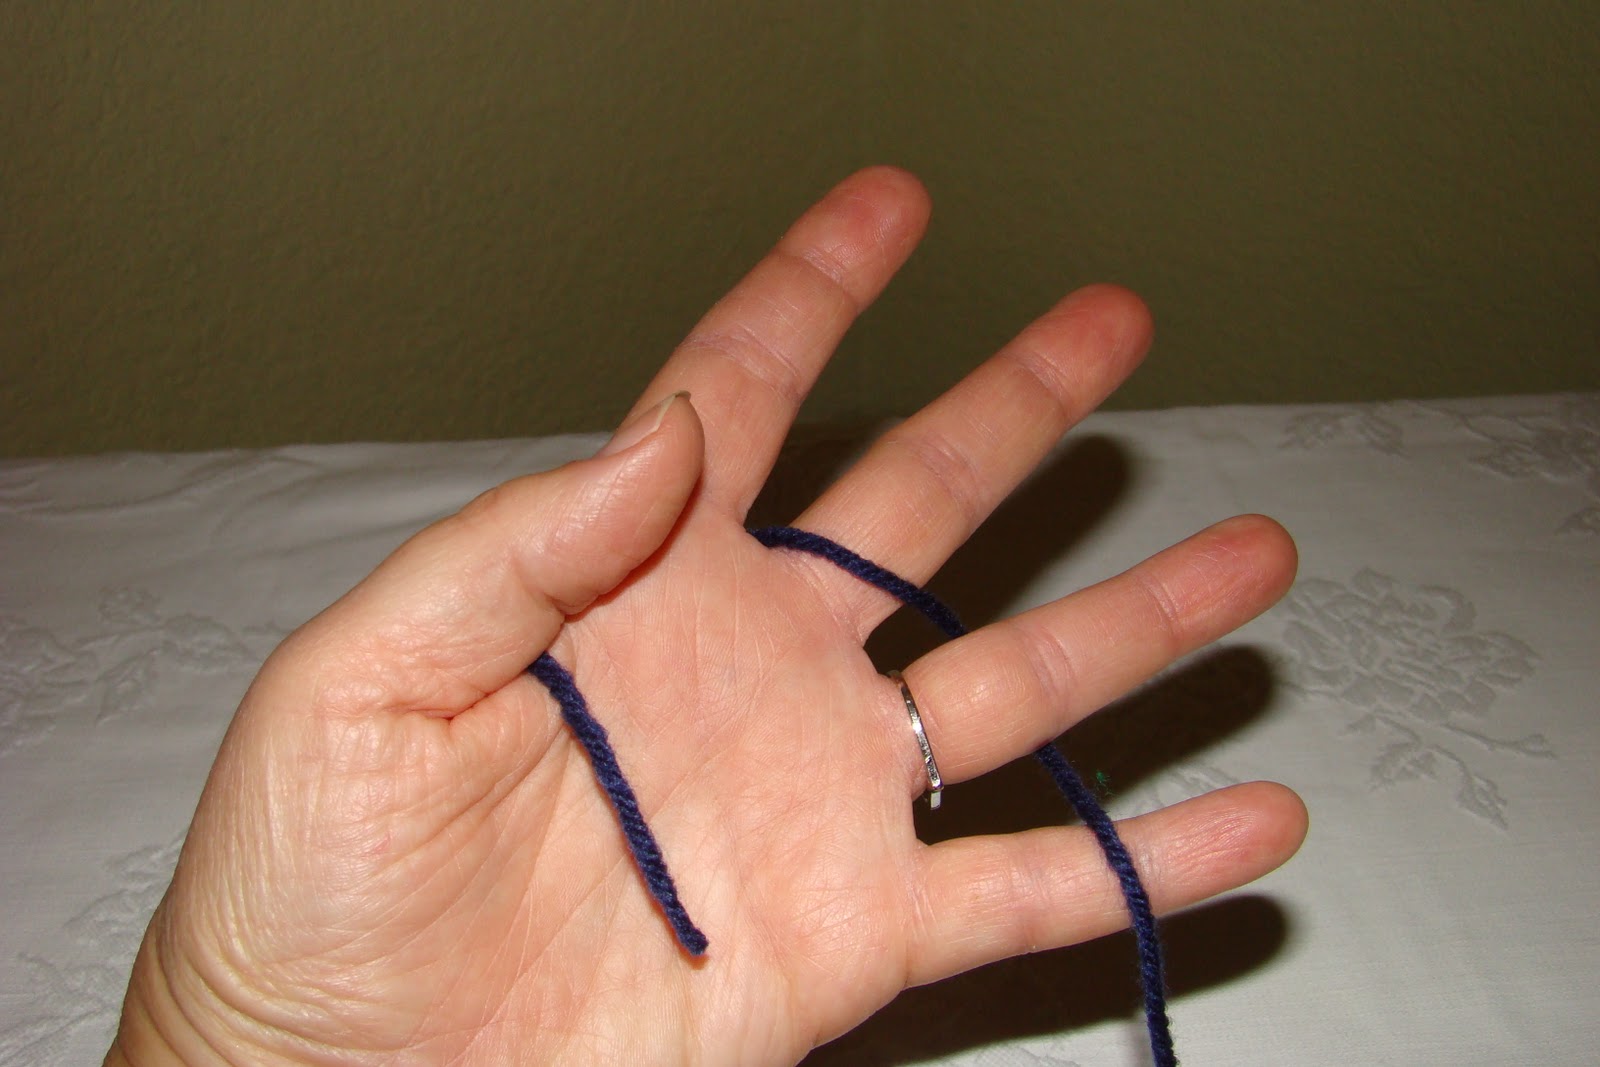
1. Place the end of the yarn over the palm of your hand between the thumb and pointer finger holding it in place for the first few rounds.
2. Wrap the yarn behind the pointer finger, then over the second finger, behind the third finger, over and around the little finger.
3. Now work back with the yarn, go over the third finger, behind the second finger, and over and around the pointer finger. Each finger will have one row of yarn on it.
4. Then again over the second finger, behind the third finger, over and around the little finger. The first and third finger will have one row and the second and fourth finger will have two rows.
5. Again work back with the yarn, go over the third finger, behind the second finger, and over and around the pointer finger. Each finger will now have two rows of yarn on it.
6. Starting with the pointer finger take the bottom loop of yarn and lift it over the finger to the back. There is now only one loop of yarn on the pointer. Do this to each of the remaining fingers.
7. Weave the yarn behind the pointer finger, then over the second finger, behind the third finger, over and around the little finger. Then work back with the yarn, go over the third finger, behind the second finger, and over and around the pointer finger. You now have two rows on each finger again.
8. Once again starting with the pointer finger take the bottom loop of yarn and lift it over the finger to the back. Do this to all of the fingers.
After a couple of times weaving back and forth you can take the end of yarn that you are holding in your palm and pull on it toward the back. This will lock the weaving in place.
Continue the weaving steps 2-5 over and over until you have the length you want. When you are ready to quit, cut the yarn off of the ball. Take the end of the yarn and slip it through the loop on the finger and remove the loop off of the finger. Then slip the yarn through the second finger, remove the loop from the finger and so on until each loop is off of each finger. Pull on the yarn tight, this will lock the weaving.
Additional ideas
Tie on extra yarn pieces on each end for fringe.
Tie on beads to each end.
Glue on googly eyes and make caterpillars or snakes.
I would love to hear other ideas you come up with.


No comments:
Post a Comment